Neway Quality Assurance

Quality assurance is critical for ensuring that products or services meet the desired level of quality, and for achieving customer satisfaction, brand reputation, compliance, cost savings, and continuous improvement.
PCDA system

PCDA system is an effective tool for process improvement, problem-solving, and risk management. It enables organizations to continuously improve their processes, make data-driven decisions, and ensure that processes are consistent, repeatable, and sustainable.
PCDA system
  • Continuous Improvement: The PCDA cycle is a continuous improvement process that enables organizations to continuously identify and address areas for improvement, leading to increased efficiency, effectiveness, and productivity.
  • Problem Solving: The PCDA system is a structured problem-solving approach that helps organizations to identify, analyze, and solve problems.
  • Data-Driven Decision Making: The PCDA cycle involves measuring and analyzing data to inform decision-making. This data-driven approach ensures that decisions are based on facts and not assumptions, leading to better outcomes.
  • Standardization: The PCDA system provides a standardized approach to process improvement, ensuring that processes are consistent, repeatable, and sustainable.
  • Risk Management: The PCDA cycle helps organizations to identify and mitigate risks by proactively identifying and addressing potential issues before they become problems.

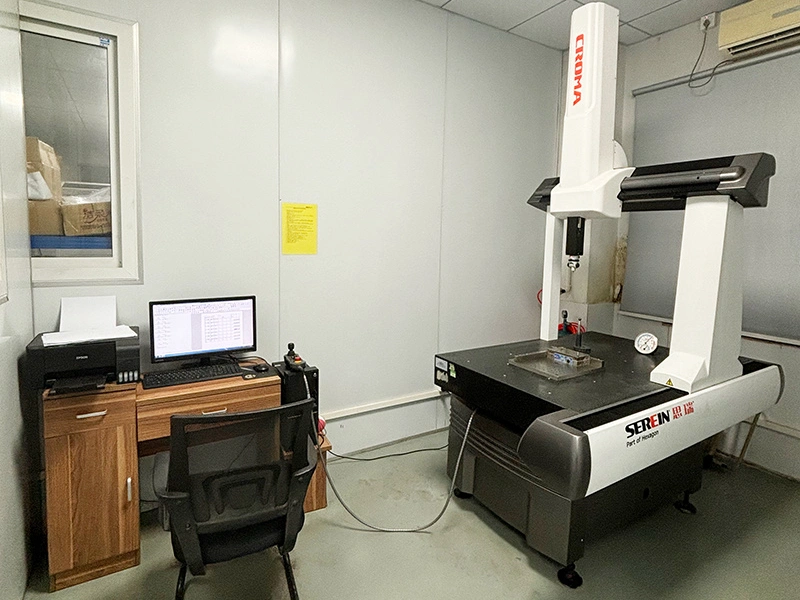
Coordinate Measuring Machines

CMM stands for Coordinate Measuring Machine, and it is a highly accurate inspection machine used in manufacturing to measure the dimensions and geometries of parts. A CMM typically consists of a movable arm, a probe, and a control system. The arm moves the probe over the surface of the part being measured, collecting data points that are used to generate a three-dimensional model of the part. The control system analyzes the data and compares it to the design specifications to determine whether the part meets the required tolerances.
quality assurance
Neway uses CMM in inspection for several reasons:
High Accuracy: CMM is a highly accurate inspection machine that can measure the dimensions and geometries of parts with high precision, ensuring that they meet the required tolerances and specifications.
Speed: CMM can measure multiple dimensions of a part simultaneously, which makes the inspection process faster and more efficient.
Flexibility: CMM can measure a wide range of parts, from simple to complex shapes and geometries. This makes it a flexible inspection tool that can be used in a variety of manufacturing applications.
Data-Driven Analysis: CMM generates a large amount of data during the inspection process, which can be used for data-driven analysis and process improvement.
Consistency: CMM inspection is a consistent and repeatable process, ensuring that the inspection results are consistent across different parts and batches.
Reverse Engineering: CMM can be used for reverse engineering, where a physical part is scanned to create a digital model. This can be useful for reproducing parts that are no longer in production or for creating customized parts.

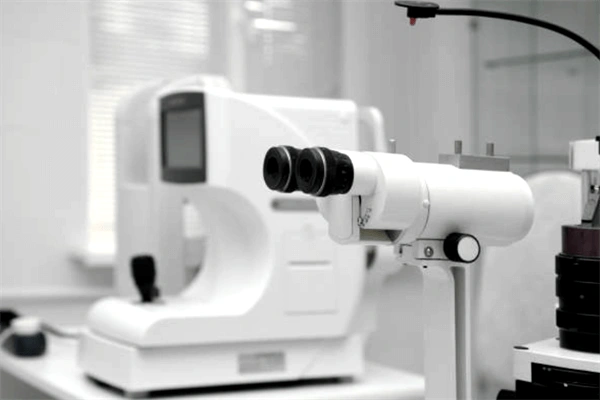
Optical Comparators

Optical comparators use a light source and magnifying lens to project an image of a metal part onto a screen. This enables operators to compare the part to a standard or design specification and identify any discrepancies.
Optical Comparators
Optical comparators are used in manufacturing for several reasons:
High Accuracy: Optical comparators can measure dimensions and geometries of parts with high accuracy, which is critical in ensuring that the parts meet the required tolerances and specifications.
Speed: Optical comparators can quickly compare the part being inspected to a reference standard or design specification, making the inspection process faster and more efficient.
Flexibility: Optical comparators can measure a wide range of parts, including both simple and complex shapes and geometries.
Easy to use: Optical comparators are easy to use and require minimal training, making them an ideal inspection tool for manufacturing environments.
Non-contact inspection: Optical comparators use a light source and magnifying lens to project an image of the part onto a screen, which means that the inspection process does not come in contact with the part being measured. This is ideal for inspecting delicate parts or parts with sensitive finishes.

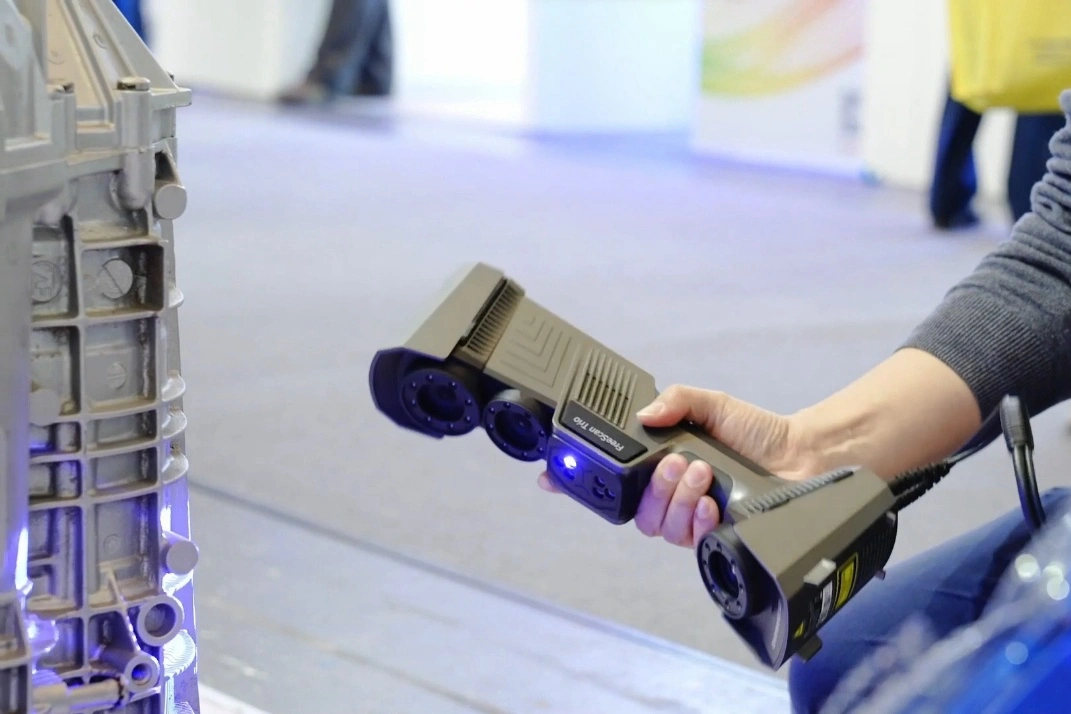
Surface Roughness Testers

Surface roughness testers measure the roughness of a metal part's surface. They use a stylus to trace the surface and generate a roughness value that can be compared to the design specifications.
Surface Roughness Testers
Neway uses surface roughness testers in manufacturing for several reasons:
Quality Control: Surface roughness testers are used to ensure that the surface finish of the parts meets the required standards and specifications. This is important for parts that will be in contact with other surfaces, as surface roughness can affect friction, wear, and corrosion resistance.
Process Control: Surface roughness testers can be used to monitor the surface finish of parts during the manufacturing process, enabling manufacturers to make any necessary adjustments to ensure that the finished parts meet the required specifications.
Consistency: Surface roughness testers provide consistent and repeatable measurements, ensuring that the surface finish of parts is consistent across different batches and production runs.
Efficiency: Surface roughness testers are fast and easy to use, making them an ideal inspection tool for manufacturing environments.
Data-Driven Analysis: Surface roughness testers generate data that can be used for data-driven analysis and process improvement. This can help manufacturers identify areas for improvement in their manufacturing processes and make any necessary adjustments to improve efficiency and reduce waste.

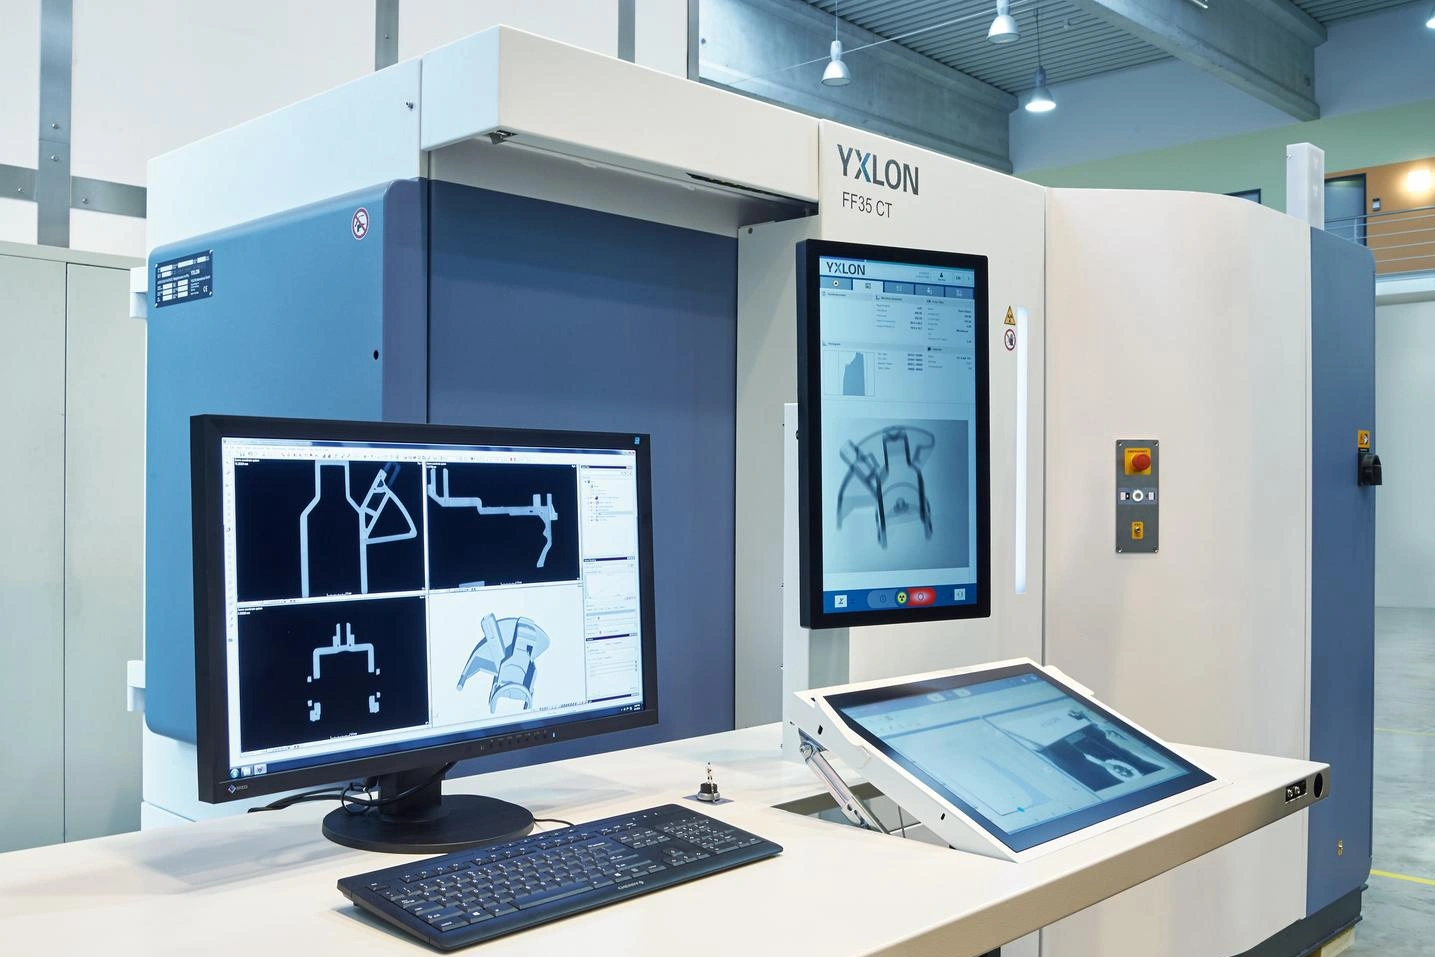
X-Ray Scanners

X-ray and CT scanners are used to inspect the internal structures of metal parts, such as welds and castings. They use radiation to penetrate the metal and create a 3D image of the internal structure.
X-Ray Scanners
Neway uses X-ray scanners in manufacturing for several reasons:
Non-Destructive Inspection: X-ray scanners enable non-destructive inspection of parts and components, allowing manufacturers to identify internal defects and flaws without damaging the part.
High Accuracy: X-ray scanners can detect defects and flaws with high accuracy, making them an ideal inspection tool for critical parts and components.
Speed: X-ray scanners can quickly scan parts and components, making the inspection process faster and more efficient.
Versatility: X-ray scanners can be used to inspect a wide range of parts and components, including those with complex shapes and geometries.
Quality Control: X-ray scanners are used to ensure that parts and components meet the required standards and specifications, which is important for critical components in industries such as aerospace and medical.
Process Control: X-ray scanners can be used to monitor the manufacturing process and identify any issues that may be affecting the quality of the parts being produced.

Ultrasonic Testing Machines

Ultrasonic testing machines use high-frequency sound waves to detect internal flaws in metal parts. They are commonly used for inspecting welds, castings, and forgings.
Ultrasonic Testing Machines
Neway uses Ultrasonic Testing (UT) machines in manufacturing for several reasons:
Non-Destructive Testing: Ultrasonic testing enables non-destructive testing of parts and components, allowing manufacturers to identify internal defects and flaws without damaging the part.
High Accuracy: Ultrasonic testing machines can detect defects and flaws with high accuracy, making them an ideal inspection tool for critical parts and components.
Speed: Ultrasonic testing machines can quickly inspect parts and components, making the inspection process faster and more efficient.
Versatility: Ultrasonic testing machines can be used to inspect a wide range of parts and components, including those with complex shapes and geometries.
Quality Control: Ultrasonic testing is used to ensure that parts and components meet the required standards and specifications, which is important for critical components in industries such as aerospace and medical.
Process Control: Ultrasonic testing can be used to monitor the manufacturing process and identify any issues that may be affecting the quality of the parts being produced.
Cost-Effective: Ultrasonic testing machines are cost-effective compared to other inspection methods, making them an ideal inspection tool for manufacturing environments.

Explore Related Resources

Copyright © 2025 Neway Precision Works Ltd.All Rights Reserved.